Whew, gluten free sourdough. This was such an intimidating feat to take on.
I’ve been wanting to try making my own gluten free fermented bread for some time, but just could never get over the intimidation of having to make a starter from scratch and then figure out how to bake a loaf of bread out of it.
But, after a small learning curve, I’ve mastered the art of gluten free sourdough and have come up with a pretty good recipe, if I can say so myself.
There are really two parts to this recipe – the starter, and the bread making.
I’m going to give you instructions for both steps as well as all of the kitchen supplies you’ll need to make the prettiest, tastiest gluten free sourdough around.
Kitchen Tools You Need
Before we get to the good stuff, there’s actually quite few kitchen tools that you need to make rustic-looking sourdough.
If you aren’t into the whole rustic look, you can totally just throw it in a bread pan and call it a day.
But, here is a full list of everything you need to make Instagram-worthy sourdough.
- kitchen scale
- standing mixer with dough hook
- dough scraper
- bread proofing basket
- scoring blade
- dutch oven (I recommend a cast iron one, it’s way cheaper than the fancy enamel ones and works better for sourdough)
- parchment paper
- kitchen towel
- small kitchen cloth
- half pint size mason jar
Ingredients
Here’s a list of what you’ll need to make the gluten free sourdough starter.
And here are the ingredients that you’ll use to make the actual sourdough loaf.
- psyllium husk (needs to be the whole husk, not the powder)
- teff flour
- brown rice flour
- sorghum flour
- buckwheat flour
- sea salt
Starter Instructions
Before making your actual sourdough loaf, you have to make your starter.
The sourdough starter is the collection of beneficial bacteria and yeast that make your final product a fermented bread.
Over the course of a few days, you’ll have to “feed” your starter with fresh flour and water each day to help develop and grow those beneficial bacteria and yeast.
It’s definitely not as hard as it sounds, and you’ll be a pro in no time. Here’s how you make your gluten free sourdough starter:
- Combine 2 Tbps sweet rice flour, 2 Tbsp buckwheat flour, and 1/4 cup water in a small bowl.
- Add mixture to the half pint sized mason jar.
- Wet a small kitchen cloth, ring out excess water, and place over mason jar.
- Place starter in a constant temperature area. In the warmer months I like to keep my starter in a kitchen cabinet, and in the winter I’ve found that it’s happiest on top of the refrigerator or in the oven with the light on.
Once you’ve started your sourdough starter, you’ll need to “feed” it every 12-24 hours to keep it alive. Here is how you “feed” your starter:
- Combine 2 Tbsp sweet rice flour, 2 Tbsp buckwheat flour, 1/4 cup water, and 2 Tbsp of the previous starter in a small bowl.
- Discard the rest of the starter.
- Clean the mason jar, and add the new mixture back into the jar.
- Complete steps 3 and 4 above.
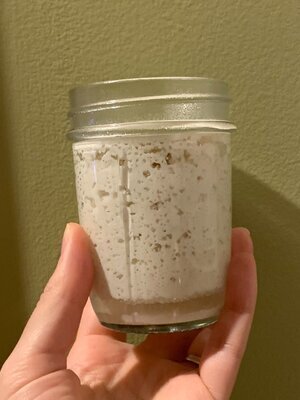
For the first few days, you probably won’t notice much activity in your starter. You may even notice a thin layer of liquid develop on top of the mixture. This is okay, and just means that your starter is hungry. If you see this often, you might want to start feeding it every 12 hours for a few days or moving it to a warmer spot.
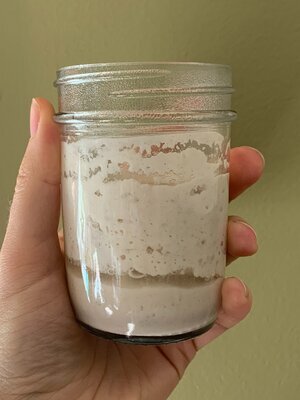
You’ll know your starter is ready to be used in a loaf when it doubles in size, you see large air pockets and bubbles under the surface, and it smells sweetly fermented.
Here are some image examples of what your starter might look like at it’s different stages, and how to know when it’s ready for baking.

I have the most success when I feed my starter anywhere between 7 and 12 hours before starting a loaf. So this often means, if my typical feeding time is at night, that I feed my starter again that next morning, and then begin my loaf prep that night. This will all make more sense after you’ve read the loaf instructions, below.
Gluten Free Sourdough Loaf Instructions
Here we go! Let’s make some gluten free sourdough.
First, here are the quantities of all the ingredients you’ll need to make your sourdough.
- 2 Tbsp gluten free sourdough starter
- 600 grams water
- 30 grams psyllium husk
- 115 grams sorghum flour
- 115 grams brown rice flour
- 115 grams teff flour
- 115 grams buckwheat flour
- 10 grams sea salt
I typically prep my sourdough loaf at night, and then bake the next morning. I’m going to include the time stamps for my general prep process here, but feel free to adjust to better fit your schedule.
Sourdough is pretty forgiving. So if you need to let the loaf proof for a little longer or shorter than the instructions say, your bread will likely turn out fine.
9pm: Add water to starter in a large mixing bowl (I often use the mixing bowl that goes with the stand mixer to save washing an extra bowl) and stir until combined. Add all the flours, starting with the psyllium husk, and mix into a ball. Let your dough leaven on the counter for 30 minutes.

9:35pm: Sprinkle salt over the dough then use the dough scraper to scrape the dough out of the bowl into the stand mixer bowl (or just skip this step if you’ve prepped everything in the stand mixer bowl). Using the dough whisk attachment, turn the mixer on to low speed and knead the dough for 20 minutes. (Alternatively, if you don’t have a stand mixer, you can knead the dough by hand.)
10pm: Scrape the dough off the sides of the bowl, shape into a ball, and place back into the bowl. Cover the bowl with a damp kitchen cloth and set it in a dark, constant temperature spot to proof for 12 hours (a dark kitchen cabinet, or the oven with the light on work great for me).
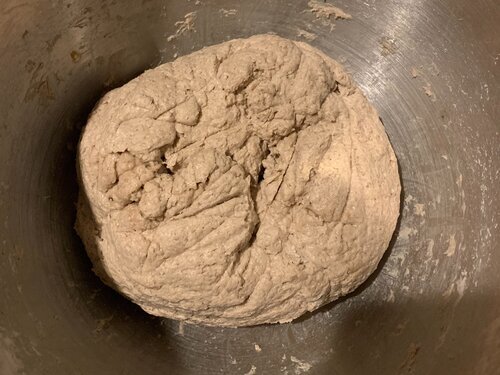
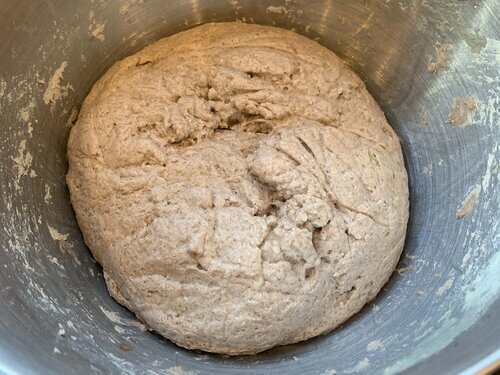
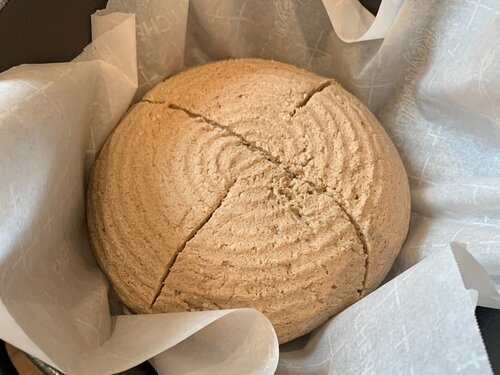
10am: The dough should be slightly larger and with noticeable air pockets. Scrape the dough out of the bowl and shape into a ball. Sprinkle the bread basket with flour and set the shaped dough ball upside down inside the basket. Cover the basket and let proof for another 60 minutes.
While dough is proofing, turn the oven on to 450F and put the dutch oven inside with the lid on to heat up. (This is only advised if using a cast iron dutch oven, the ceramic dutch ovens recommend not heating when empty) Heating the dutch oven before baking helps to get a crispier crust and ensure more even baking. I’ve never tried baking a loaf in a cold dutch oven, so I’m not sure how it would turn out.
11am: Time to bake! Flip the dough onto a piece of parchment paper, score 4 lines (or get creative) across the dough ball.
Remove the dutch oven from the oven, open the lid and pour 1/8 cup of water into the hot oven (make sure to quickly move your hand away when pouring, that steam is hot!). Gently lower the loaf into the dutch oven using the parchment paper. Close the lid, place the dutch oven back in the oven and bake for 45 minutes.
Remove the lid and bake for another 10-20 minutes.
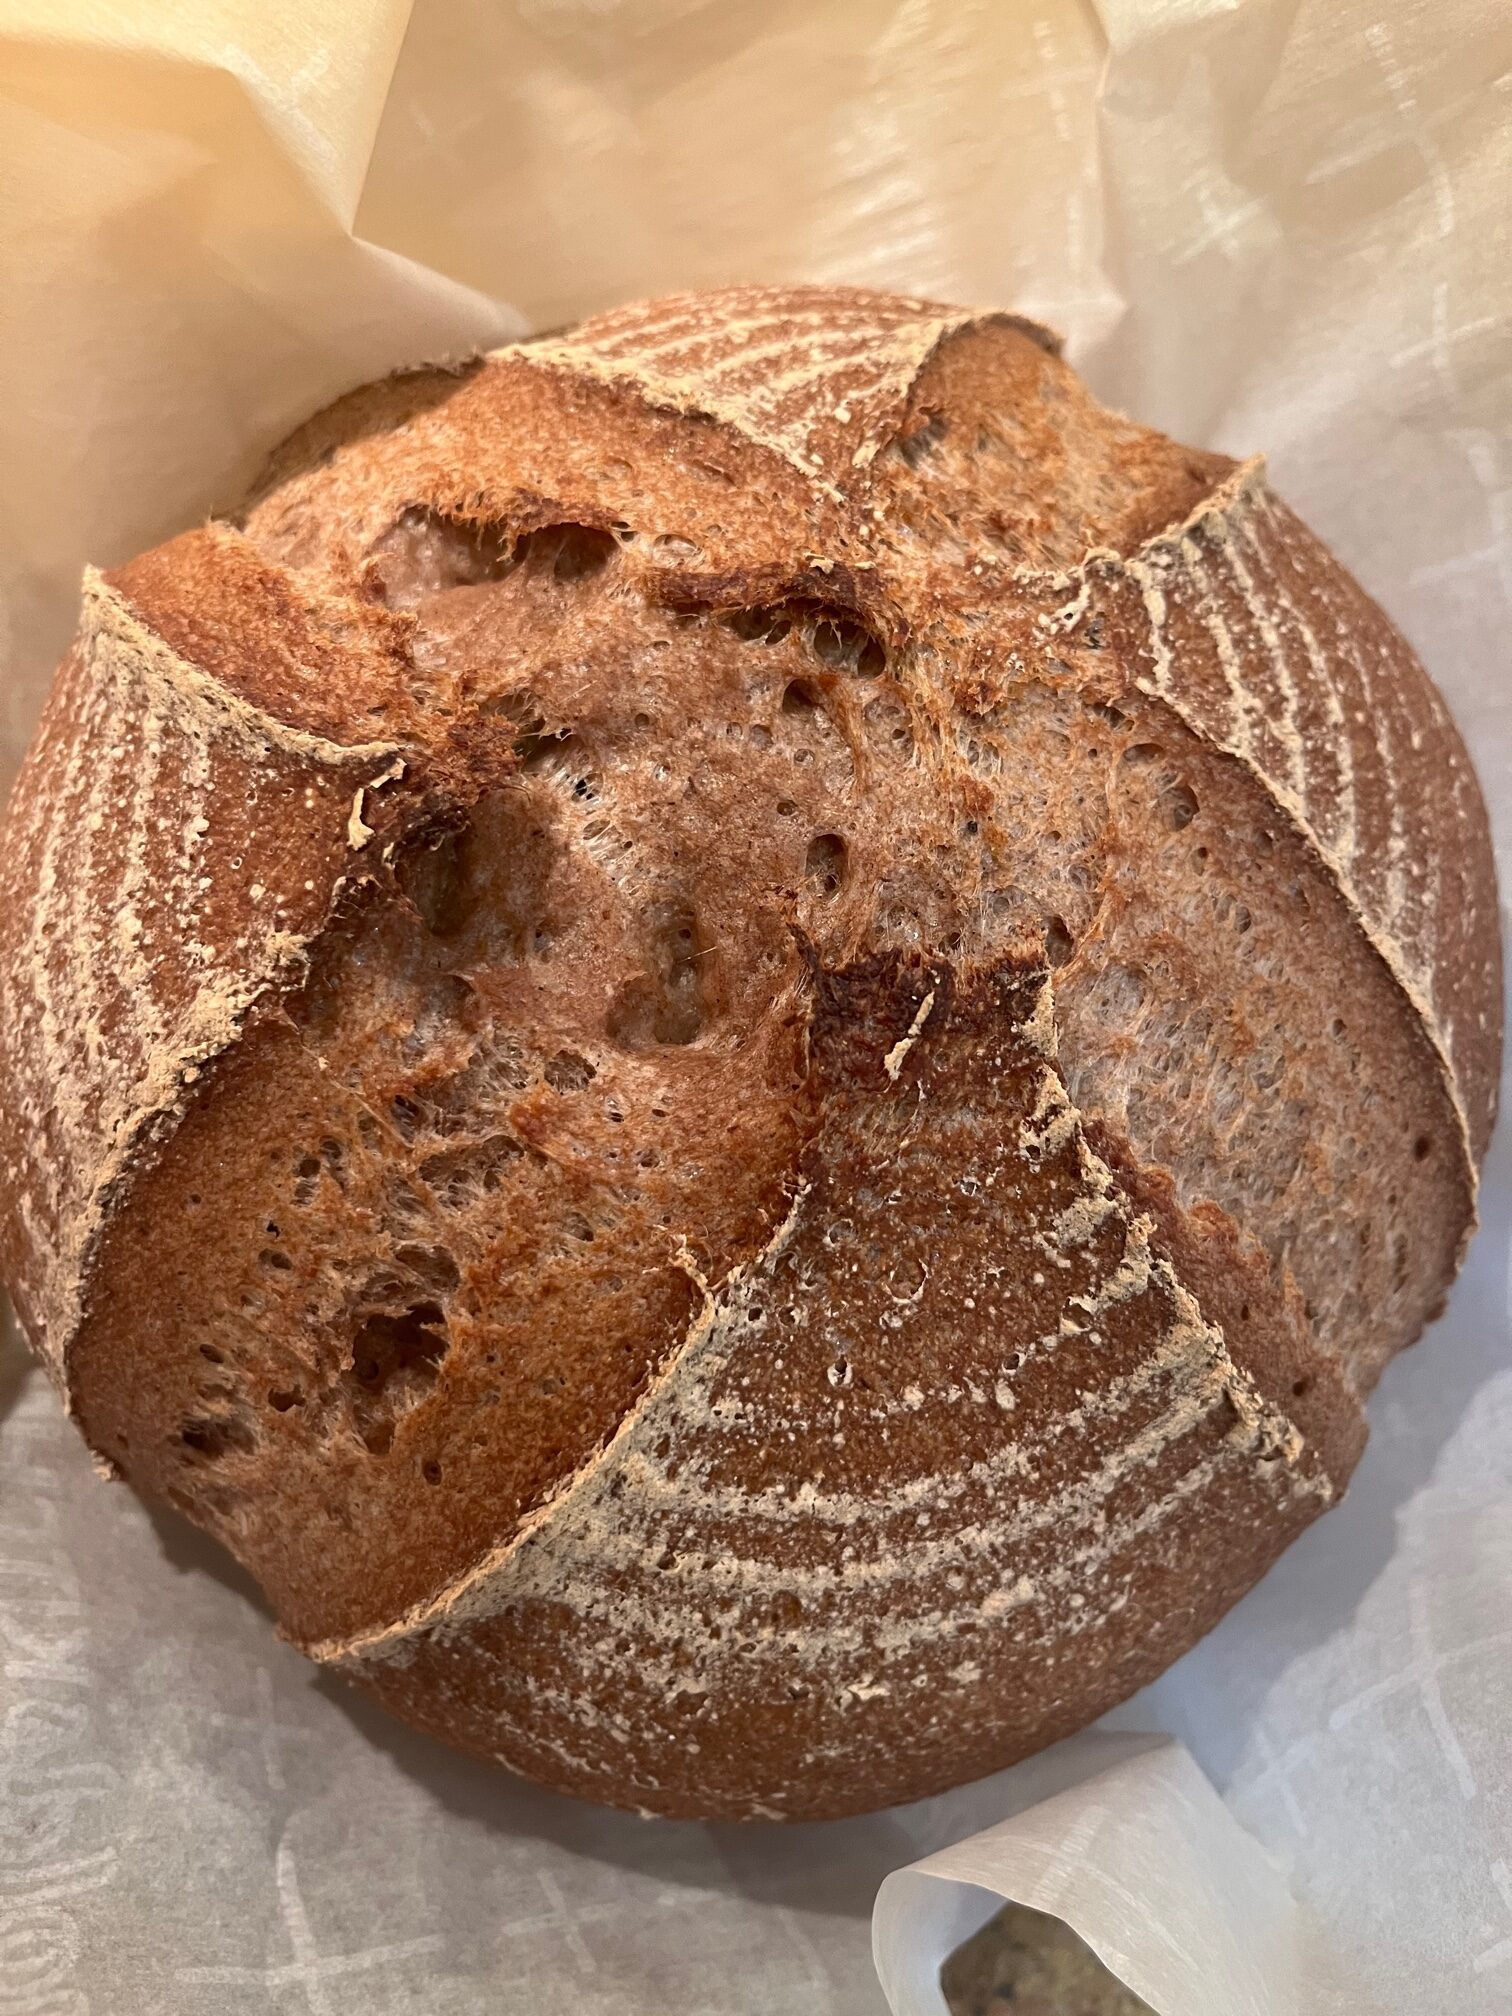
Remove the finished loaf from the oven and let cool for 30 minutes.
Enjoy your freshly baked, gluten free, gut friendly, sourdough!
The instructions can seem overwhelming when you’re first starting out. But, I recommend just jumping in and trying it yourself. Once you’re actually doing it, you’ll get the hang of it much quicker.
I love the teff flour in this recipe, it gives the bread a really unique darker color and a hearty flavor.
If you make this gluten free sourdough, I’d love to see your creations! Please share and tag me @theguthealingninja on Instagram!

Jessica Washington is a Functional Diagnostic Nutrition Practitioner specializing in stomach health and H pylori. Drawing from her personal journey overcoming H pylori and over three years of experience, she has helped hundreds of clients naturally heal stubborn stomach symptoms like reflux, heartburn, and stomach pain through her signature programs and coaching.

Do you pour the boiling water into the Dutch oven or into a tray in the kitchen oven? Does the dough Make contact with the water?
Good questions! The water doesn’t have to be boiling, when it hits the hot Dutch oven it will create steam. And the dough is inside parchment paper, so it will not contact the Dutch oven or the water directly.